반응형
fragment는 하나의 activity에 여러 화면을 띄울 수 있다.
자세한건 ->>detail...
일반적으로 테블릿같이 넓은 display에 많이쓴다.
내폰은 노트니까 ㅋ
fragment를 쓰면 일단 소스는 좀 깔끔해지는 거 같다.
activity_main.xml
1 2 3 4 5 6 7 8 9 10 11 12 | <fragment android:id="@+id/fragment1" android:name="com.answerofgod.fragment.Fragment1" android:layout_width="wrap_content" android:layout_height="match_parent" android:layout_weight="1" /> <fragment android:id="@+id/fragment2" android:name="com.answerofgod.fragment.Fragment2" android:layout_width="wrap_content" android:layout_height="match_parent" android:layout_weight="20" /> | cs |
그냥 메인 xml에 fragment만 추가하면 된다.
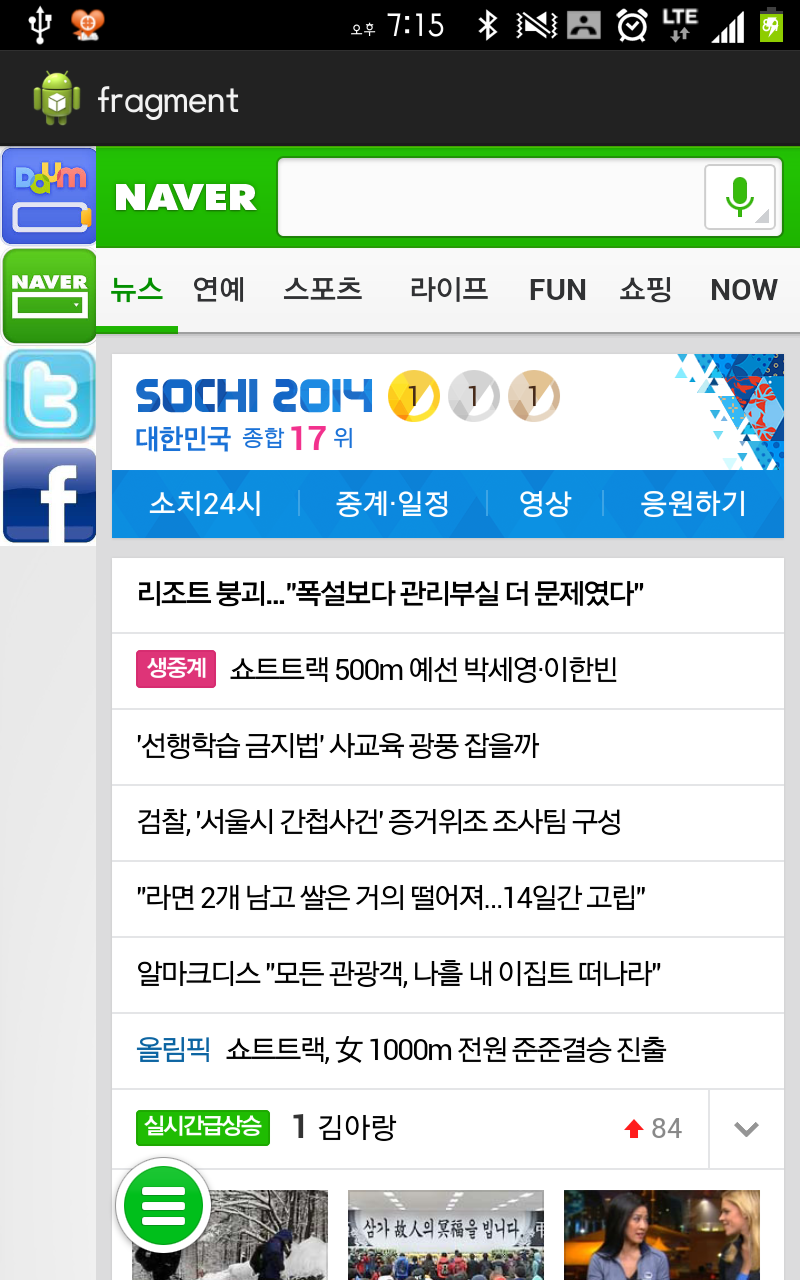
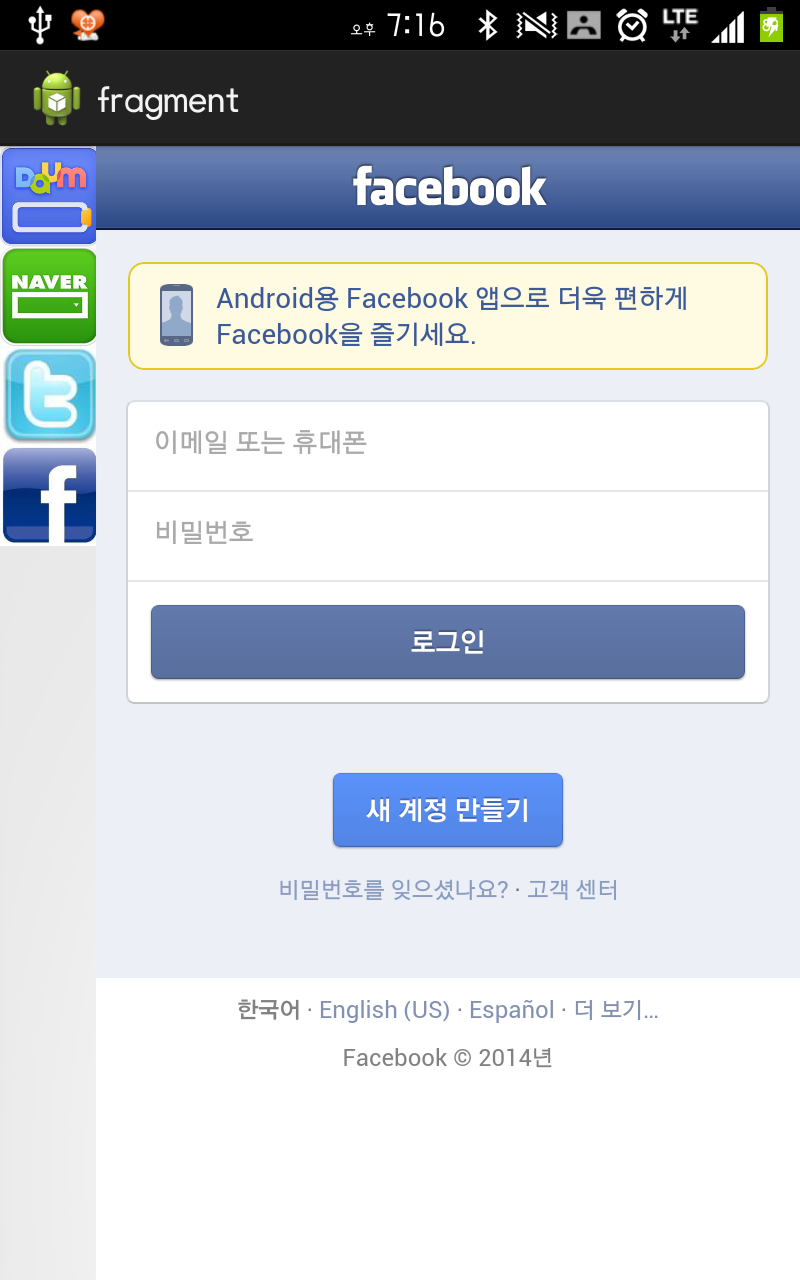
위쪽건 왼쪽화면 아래껀 오른쪽화면
Fragment1.java
1 2 3 4 5 6 7 8 9 | public class Fragment1 extends Fragment { @Override public View onCreateView(LayoutInflater inflater, ViewGroup container, Bundle savedInstanceState) { return inflater.inflate(R.layout.frag1,container,false); } } | cs |
그리고 fragment를 위한 xml파일과 자바파일을 만들어주면 된다.
frag1.xml
1 2 3 4 5 6 7 8 9 10 11 12 13 14 15 16 | <?xml version="1.0" encoding="utf-8"?> <LinearLayout xmlns:android="http://schemas.android.com/apk/res/android" android:orientation="vertical" android:layout_width="match_parent" android:layout_height="match_parent"> <Button android:id="@+id/daum" android:background="@drawable/daum" android:gravity="center" android:layout_width="50dp" android:layout_height="50dp"/> ...... </LinearLayout> | cs |
Fragment2.java
1 2 3 4 5 6 7 8 9 | public class Fragment2 extends Fragment { @Override public View onCreateView(LayoutInflater inflater, ViewGroup container, Bundle savedInstanceState) { return inflater.inflate(R.layout.frag2,container,false); } } | cs |
오른쪽 화면도 마찬가지
frag2.xml
1 2 3 4 5 6 7 8 9 10 11 12 | <LinearLayout xmlns:android="http://schemas.android.com/apk/res/android" android:orientation="vertical" android:background="#ff00ff00" android:layout_width="match_parent" android:layout_height="match_parent"> <WebView android:layout_width="match_parent" android:layout_height="match_parent" android:gravity="center" android:id="@+id/webview"/> </LinearLayout> | cs |
MainActivity.java
1 2 3 4 5 6 7 8 9 10 11 12 13 14 15 16 17 18 19 20 21 22 23 24 25 26 27 28 29 30 31 32 | public class MainActivity extends Activity implements OnClickListener{ WebView webview; Button daum; Button naver; Button facebook; Button twit; String url="http://m.facebook.com"; @Override protected void onCreate(Bundle savedInstanceState) { super.onCreate(savedInstanceState); setContentView(R.layout.activity_main); webview=(WebView)findViewById(R.id.webview); daum=(Button)findViewById(R.id.daum); .......... } @Override public void onClick(View v) { // TODO Auto-generated method stub switch(v.getId()){ case R.id.daum: url="http://m.daum.net"; webview.loadUrl(url); break; ......... ......... | cs |
그리고 메인 자바파일에서 모든걸 구현해 준다.ㅎ
반응형
'Study > Android' 카테고리의 다른 글
| android app 에 admob 광고 추가하기 (0) | 2015.02.11 |
|---|---|
| Android Widget (안드로이드 위젯) 만들기 (0) | 2015.02.11 |
| MyLocation&MyPath (정확도 증가버전) (0) | 2015.02.11 |
| Do it 안드로이드 앱 프로그래밍 미션 20 (4) | 2015.02.11 |
| 지오코딩및 리버스지오코딩(geocoding& reverse geocoding) (0) | 2015.02.11 |