ps. http://thinkrpi.wordpress.com/2013/05/22/opencv-and-camera-board-csi/
블로그를 참고로 step by step으로~
Raspberry는 ver B 512MB
OS 는 Raspbian wheezy (2013.09.25)일자 임.
1. 준비(prepare)
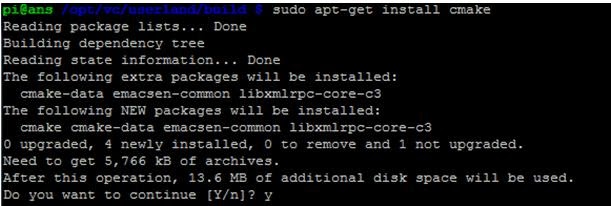
먼저 cmake가 없다면 package를 install 해준다.
cmake는 cross platform make의 약자로 컴파일하기 쉽도록 makefile을 만들어 준다.
sudo apt-get install cmake
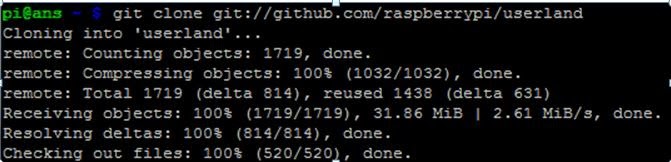
그리고 수정할 소스를 받아온다.
git clone git://github.com/raspberrypi/userland
다운로드가 완료 되면 " /opt/vc/userland"로 옮겨주자
sudo mv userland /opt/vc/userland
cd /opt/vc/userland
소스를 CMake 하자
sudo cmake -DCMAKE_BUILD_TYPE=Release ..
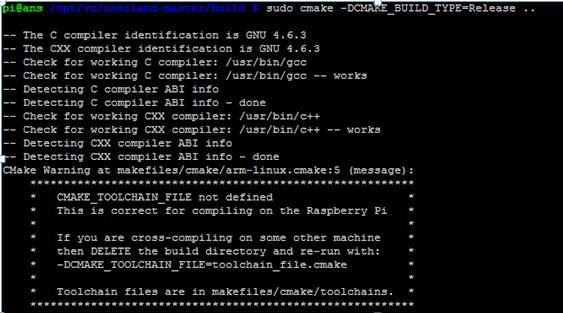
CMake가 완료되고 makefile이 만들어 졌다.
이제 make를 하여 컴파일 하자.
sudo make

이 과정은 오래걸린다.. 커피나 한잔 하고 와도 될듯~^^
컴파일이 완료되면 설치를 해주자
sudo make install
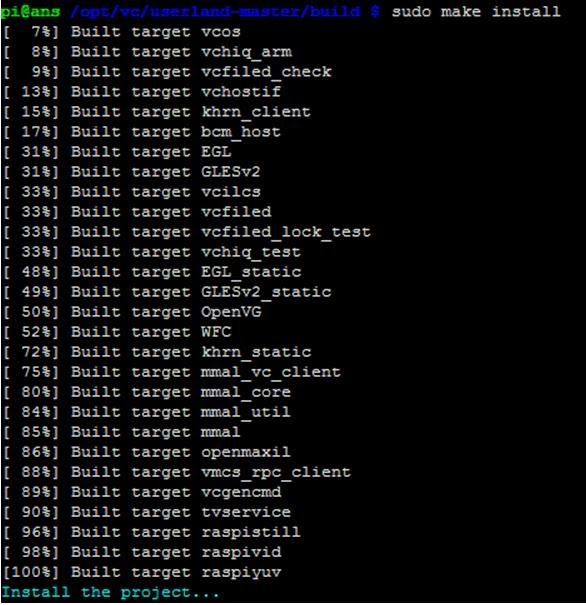
이제 설치가 끝났다.
설치가 제대로 되었는지 Test를 해보자
cd /opt/vc/bin
./raspistill -t 3000
picam에 불이들어오면서 사진이 찍히면 제대로 설치가 된 것이다.
이제 이 소스를 가지고 작업을 할 것이다.
'Projects > OpenCV for RaspberryPi' 카테고리의 다른 글
| Raspberry Pi 에서 Picam을 이용한 OpenCV Final (2) | 2015.02.12 |
|---|---|
| Raspberry Pi 에서 Picam을 이용한 OpenCV 4 (0) | 2015.02.12 |
| Raspberry Pi 에서 Picam을 이용한 OpenCV 3 (3) | 2015.02.12 |
| Raspberry Pi 에서 Picam을 이용한 OpenCV 2 (0) | 2015.02.12 |
| Raspberry Pi 에서 초 간단 OpenCV 하기(webcam 이용) (2) | 2015.02.12 |